When Apple TV Plus announced itself with the blockbuster show ‘See’, we got ourselves just one more reason why we love Apple TV.
Truth is, since its introduction in 2007, Apple TV has been a useful addition to many homes. The constant transformations its undergone has led to major improvements. Little wonder it’s been hugely successful, becoming one of the most popular ways to stream content to TV.
But Apple TV is not without its drawbacks… drawbacks which can be solved by a VPN.
Although using a VPN on Apple TV is far from popular, a VPN is an important tool to have in your toolkit.
For starters, a VPN improves your access to content. Streaming services are notorious for employing geo-blocks to keep out users from particular zones. This means while user A in country A would find show A on the service, it’d be missing from user B’s catalogue because he stays in country B.
A VPN allows users switch their online location. By switching their online location to their country of choice, users can gain access to the entire video catalogue for that country. With VPNs having several locations, a user can access virtually every content on the streaming service from their home.
Putting it simply, a VPN on your Apple TV could allow you access Netflix’s UK video catalog while sitting pretty in your US home. And, yes(!) despite the crackdown on VPNs by services like Netflix, this remains possible by selecting one of the best VPNs for Apple TV.
VPNs also encrypt internet traffic. For users who are keen on preserving their online privacy, this means you can keep the government, hackers, and other third parties like your Internet Service Provider (ISP) from monitoring your online activities and stealing your personal data.
As you already know, Apple isn’t generous about the apps it allows on its device. The same applies to Apple TV, which means there are no native VPN apps for the device just yet.
This means you can’t just install a VPN on Apple TV as you’d do on your Amazon Fire Stick. But that doesn’t mean it’s impossible – and we’re here to show you how.
There are three options for users looking to install a VPN on Apple TV. They include:
One of the easiest, most efficient ways to benefit from a VPN is to install it directly on your router. This method protects all of your devices connected to that router. This includes your Apple TV. It also means you’d always have the VPN connected so long as your internet is on.
With your VPN connected, every traffic on every device connected to your router will be encrypted. Location may also be changed to specifically meet the needs of your Apple TV – or any other device.
However, while it does offer protection and access to geo-blocked content, not all routers support VPN. Unsurprisingly, most routers supplied by Internet Service Providers (ISPs) do not support VPNs. This leaves you with two options:
Typically, your VPN installation on router should look like this:
Without a VPN-compatible router, a virtual router is your next option. In most cases, creating a virtual router is much easier than installing a VPN directly on your router.
Note: A virtual router can only be set up on Windows laptops or PC
A virtual router is set up on a computer (sadly, phones can’t share VPN connections). Once setup, a virtual router allows you share VPN-protected connection with connected devices like your Apple TV. This takes away the problem of router compatibility.
Your first step here will be to set up your computer’s VPN connection. Select a VPN with OpenVPN protocol, sign up, install the client for your device, select your preferred server location, connect and share your internet connection.
Tip: If you run a Windows 10 PC, skip steps 1 – 6 below and proceed from 7.
Steps to setting up a virtual router on your Windows PC:
Tip: If it shows “Hosted Network Support: Yes” after step 4 above, it means your PC is able to create a virtual router.
Windows 10 users should start here having skipped steps 1 – 6 above
Now you can connect your Apple TV to the new virtual router and enjoy encrypted VPN connection. To disable the router, go to your command prompt and enter:
Certain VPN services like ExpressVPN provide a much easier option for streaming on Apple TV – Smart DNS.
When you attempt accessing a website, the website confirms the origin of the DNS request to determine your location. Streaming services exploit this to automatically geo-block specific content.
By altering your DNS location, Smart DNS allows you trick the service into thinking you’re connecting from a different location. However, you should know that a DNS service is only good for unblocking restricted content; it doesn’t offer any form of protection.
Thankfully, Apple TV allows users manually select their DNS server. Importantly, it’s also very easy and straightforward to do this.
Tip: Select a US IP if you want to unblock US services like Netflix, Hulu, HBO, etc., or a UK IP to unblock services like BBC iPlayer.
Tip: Follow the ExpressVPN MediaStreamer guide to set up or contact support if lost.
One of the most important parts of setting up a VPN for Apple TV is your selection process. When selecting a VPN for Apple TV, it’s important that you select one that is fast, strong enough to bypass geo-locks, and tough enough to provide you with complete privacy and security.
Our selected VPNs are great in all of those aspects, providing you with easy installation guides for routers so you can begin enjoying secure connections in no time. Many of them also come with Smart DNS proxy services to help you bypass router compatibility issues.
Our top three best VPNs for Apple TV include:

NordVPN boasts a huge network of servers, with just over 5,500 servers in its fleet. But its most impressive feature is its tough, bulldozing 2048-bit encryption which provides privacy while cutting through the strictest of geo-blocks.
NordVPN successfully lets you access content in any region and is impressively fast. Importantly, the app is easy to set up. You’d also find yourself with access to a good selection of preconfigured routers for instant setup. And if connection is a problem, you’d be sure to appreciate the 24/7 live support.

ExpressVPN is fast, safe and very reliable. It also successfully unblocks streaming services like BBC iPlayer, HBO Go, Hulu, and Netflix. Arguably the fastest VPN currently present, ExpressVPN is just the right blend of streaming speed and security.
Besides keeping out buffer issues, ExpressVPN is impressively easy to set up. You’d find in-depth guides for setting up on all compatible routers on their website, as well as guides for their MediaStreamer Smart DNS.
And if you don’t want to go through the trouble, you can buy a preconfigured router with ExpressVPN.
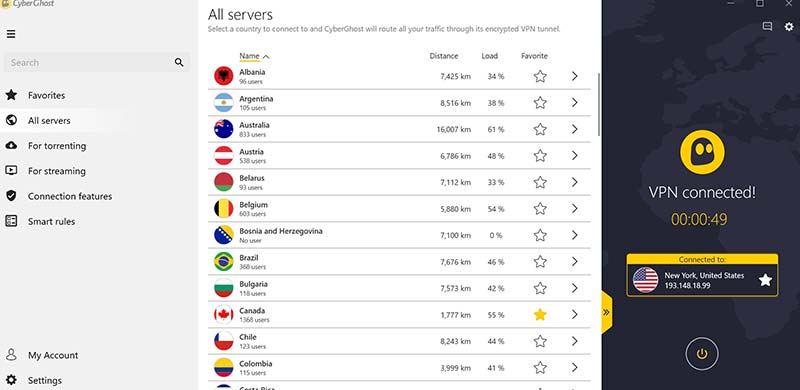
EAlthough it isn’t exactly the fastest VPN on the market, CyberGhost offers a reliable global coverage. It’s also great for streaming, with optimized streaming servers providing top level speeds. For users with an eye on security, CyberGhost is also hugely impressive.
CyberGhost comes with an easy to use, intuitive app, and provides users with plenty of support to set up – whether on a virtual router device or on your router.
VPNs are a great option for those looking to take full advantage of the streaming services on Apple TV. Unfortunately, with Apple TV blocking the development of native apps by VPN services, you’d have to get creative with your connection systems.
The easiest way through remains purchasing a preconfigured router so you don’t have to manually setup your VPN, but this may be understandably pricey for many who already have routers.
In this article, we’ve considered the different ways to setup a VPN on Apple TV – all the way from setting up the VPN on a router, to creating a virtual router of your Windows PC or even using a Smart DNS option for unblocking without protection.